Understanding Finish Trim: Types and Styles
Basic styles of interior finish trim and moldings
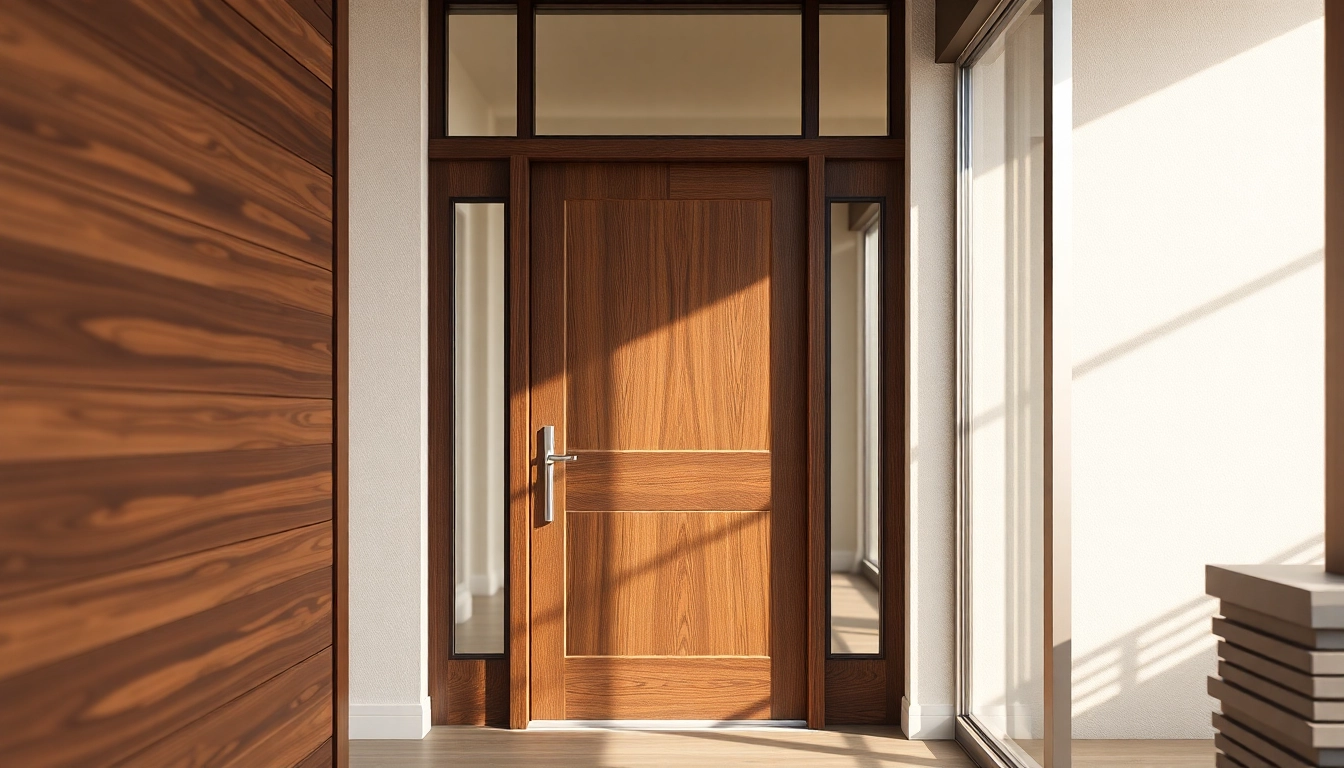
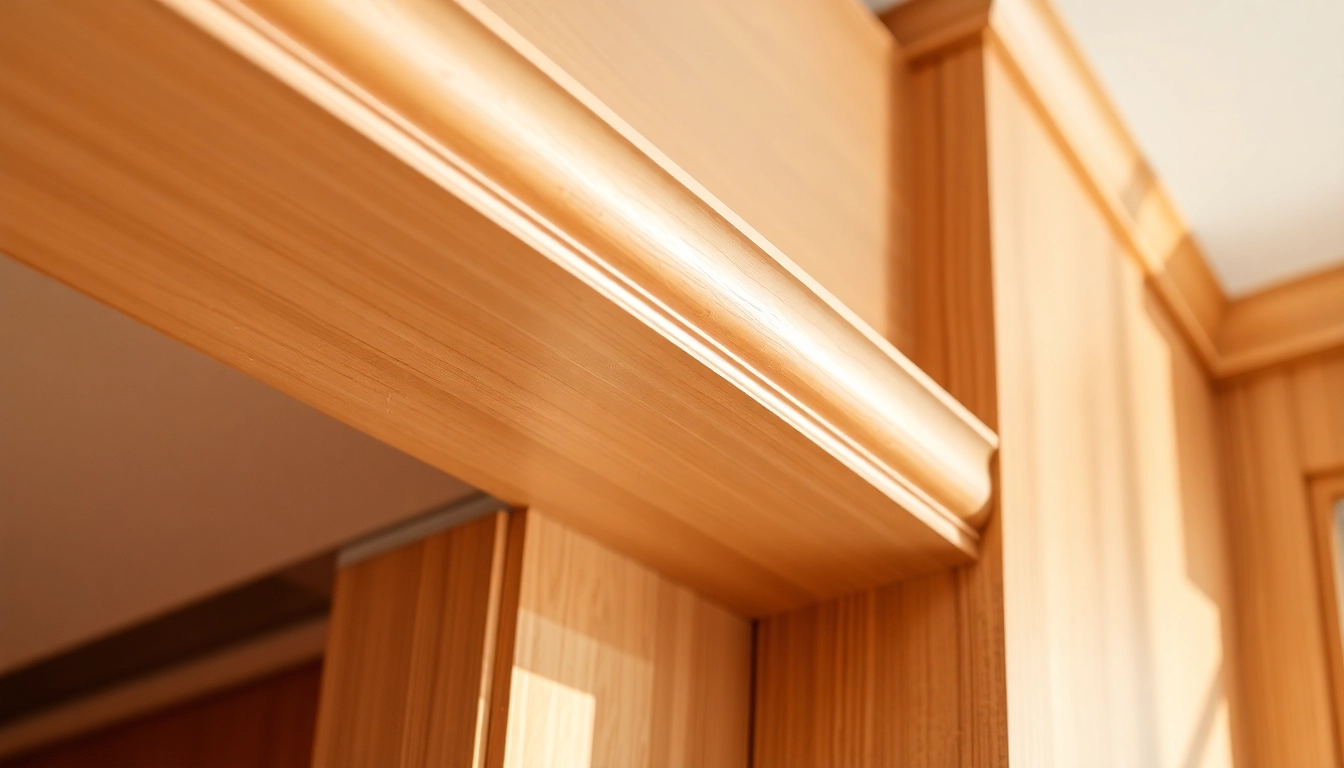
Finish trim and moldings serve as the aesthetic framework of a room, providing both decorative appeal and functional accents that conceal seams, gaps, and transitions between surfaces. These trim pieces come in a variety of styles tailored to different architectural tastes and interior design themes. Popular basic styles include baseboards, crown moldings, door casings, window trims, and chair rails. Each style varies in profile, ornamentation, and application, enabling homeowners and designers to craft distinctive interior looks. For example, simple flat profiles work well in modern minimalistic spaces, while intricately carved or beveled profiles are suited for traditional or classic interiors.
Understanding the nuances of these styles is essential for achieving a cohesive aesthetic. Baseboards, for instance, typically span from 3 to 8 inches in height and are designed to transition smoothly from wall to floor, with options ranging from plain boards to elaborate crown molding-inspired shapes. Door and window casings frame openings elegantly, and their styles can range from plain, flat trims to highly detailed, moulded profiles. Chair rails, often positioned around the middle height of a wall, add formality and protect walls from furniture impacts.
To see a broad selection of finished mouldings, visit reputable suppliers like The Home Depot or Lowe’s. These sources offer a wide range of styles and profiles that can be customized to fit specific project requirements.
Different materials used for durable finish trim
Selecting the right material for your finish trim is crucial to ensure longevity, aesthetic appeal, and ease of installation. Common materials include solid wood, medium-density fiberboard (MDF), xps foam, polyurethane, and PVC. Each offers distinct advantages.
- Solid Wood: Traditional and highly durable, solid wood trim (such as oak, maple, or pine) boasts natural beauty with unique grains, making it ideal for high-end projects. However, it is more susceptible to moisture and can expand or contract with humidity shifts.
- MDF: Engineered from wood fibers, MDF trim is cost-effective, smooth, and easy to paint. It resists warping when properly sealed but is less suitable for moist environments unless specifically treated.
- Polyurethane and PVC: These synthetic materials are lightweight, highly resistant to moisture, and available in detailed profiles that replicate traditional wood moldings. They are perfect for bathrooms, kitchens, or exterior applications where moisture is a concern.
- Foam or XPS: Offering excellent versatility, foam trims are easy to cut and install, suitable for decorative accents, but require sealing and painting for durability.
The choice of material should align with your project’s demands, budget, and preferred aesthetic. For example, while wood offers authentic beauty, polyurethane provides excellent resistance to moisture and is ideal for areas prone to humidity.
Choosing the right finish trim to match your decor
Harmonizing your finish trim with your interior decor is essential for creating a cohesive design narrative. Your choice should reflect the style, color palette, and overall mood of the space.
For contemporary interiors, opt for clean, simple profiles with smooth or flat surfaces, often painted in neutral tones like white, gray, or black. Modern minimalist spaces benefit from minimal ornamentation, emphasizing streamlined profiles and monochromatic schemes.
Traditional or classic interiors, on the other hand, call for more elaborate trim styles—such as ornate crown moldings, egg-and-dart features, or detailed relief carvings—often stained or painted in warm tones to complement rich furnishings.
If you want to add a touch of elegance, consider using decorative moulding and accents, such as chair rails with differing textures, or combining multiple trim profiles to create visual interest. Furthermore, selecting a paint finish and sheen—such as semi-gloss or satin—can enhance the trim’s appearance and durability.
Preparation and Planning for Seamless Finish Trim Installation
Measuring and layout considerations for precise cuts
Accurate measurement and meticulous layout are paramount to achieving high-quality finish trim. Begin by carefully measuring the length of each wall or opening where trim will be installed. Use a reliable measuring tape, and double-check each measurement to prevent costly errors.
To facilitate precise cuts, mark your measurements clearly with a pencil on the backside of the trim, and use a square or combination square to draw consistent, straight lines. For complex or mitered joints—like corners and transitions—calculate the angles precisely, typically 45 degrees for most corners, to ensure seamless fitting.
Consider establishing a level or plumb line as a reference point to align your trim properly, maintaining a consistent height or position throughout the installation process. For intricate rooms with irregular walls, use flexible measuring tools or template methods to adapt your cuts accordingly.
Implementing a detailed plan reduces waste, minimizes gaps, and ensures a professional appearance. Pro tips include creating templates for repeated shapes, pre-assembling complicated joints off-site, and double-checking measurements at every step.
Tools and materials essential for quality finish carpentry
To achieve a flawless finish, the right tools and materials are critical. High-quality equipment will produce cleaner cuts, tighter joints, and a more refined appearance.
- Measuring tools: Tape measure, carpenter’s square, combination square, chalk line.
- Cutting tools: Miter saw, saw blades designed for trim material, coping saw, or fine tooth hand saw.
- Adhesives and fasteners: Finish nails, brad nails, or trim nails, pneumatic or manual nail guns, construction adhesive.
- Preparation tools: Sandpaper, sanding sponge, wood filler, putty knives, miter box for manual cuts.
- Finishing supplies: Primer, paint, brushes or sprayers, caulking, painter’s tape, level.
Proper maintenance of tools—sharp blades, calibrated saws, and clean surfaces—facilitates precise cuts and reduces errors. For complex trims, consider pre-assembling sections to ensure fit before permanent attachment.
Common challenges during installation and how to avoid them
Finish carpentry can be fraught with challenges such as inaccurate cuts, gaps, misalignments, or uneven surfaces. Anticipating these issues and implementing preventative measures significantly improves results.
- Inaccurate measurements: Always measure twice and use templates for repeating cuts.
- Uneven surfaces or walls: Use shims or fillers to compensate for irregularities.
- Gaps or misaligned joints: Use spacer blocks during installation and fill gaps with wood filler or caulking.
- Cracked or split trim: Handle materials carefully, avoid over-tightening nails, and pre-drill holes when necessary.
Additionally, patience and attention to detail are your best assets. Taking the time to make precise cuts, test-fit, and adjust before final nailing results in a professional finish that lasts.
Techniques for Achieving a High-Quality Finish
Sanding, filling, and priming for smooth surfaces
A polished finish begins with surface preparation. After installation, sand all joints, edges, and surfaces with fine-grit sandpaper (220-grit or higher). This removes any rough spots, glue drips, or tool marks, creating a smooth canvas for finishing.
For gaps or nail holes, apply a high-quality wood filler or spackle, press it into the cavities, and sand once dry for seamless repairs. Multiple coats may be necessary for deep or large gaps. Priming is essential for paint adhesion and durability, especially on MDF or painted trim.
Use a quality primer suited for your trim material, then sand lightly after drying to eliminate brush marks and prepare for the final paint layer.
Best paints and finishes for longevity and aesthetic appeal
The choice of paint and finish enhances both the visual appeal and durability of your trim. Semi-gloss and satin sheens are popular in interior finishes because they balance aesthetics and washability. They reflect light, making details pop while being easy to clean.
For high-end projects, consider high-quality latex or oil-based paints that provide excellent adhesion and resistance to scuffs. Using a high-quality brush or sprayer ensures even coverage with minimal brush marks. For best results, apply multiple thin coats, allowing proper drying time between layers.
Expert tip: for a factory-like finish, lightly sand between coats, and consider using a topcoat or protective clear finish for areas with high traffic or moisture exposure.
Tips for miter cuts and corner joint accuracy
Mastering precise miter cuts is essential for clean, tight corners, particularly in crown molding or complex trim arrangements. Use a miter saw with a good fence system and a sharp blade optimized for trim material.
When cutting corners, measure and mark accurately, then test fit before nailing. Adjust angles as needed, and use a coping saw for coped joints—this method involves cutting the profile of one piece to fit against the other, resulting in a seamless appearance.
For miters, employ a miter jig or a digital angle finder to ensure exact cuts. Always cut slightly longer than needed and make final adjustments during fitting.
Finishing Touches: Painting and Detailing Your Trim
Selecting the appropriate sheen and color
The sheen of your finish trim dramatically impacts its visual texture and practicality. While semi-gloss and satin sheens are the most popular for interior trim—offering a subtle sheen that accentuates details and withstands cleaning—high-gloss finishes add extra pop and reflectivity for statement pieces.
Color choices should complement the overall palette. Pure whites and off-whites are classic and versatile, suitable for most styles. For bold or contemporary designs, darker shades or contrasting colors can make trim stand out. Insider tip: choosing a slightly darker or lighter hue than your wall color can add depth and dimension.
Applying paint for even coverage and minimal brush marks
Proper painting technique is vital for a smooth, professional finish. Use high-quality brushes or sprayers, and avoid overloaded brushes that cause drips or uneven coverage. Work in thin, overlapping coats, and maintain a wet edge to prevent lap marks.
Before painting, tape off adjacent surfaces to ensure sharp lines. Once the first coat is dry, lightly sand any imperfections, then apply a second coat. For the best results, consider using a primer designed for your material and then finishing with your chosen topcoat.
Adding decorative elements and final inspection for perfection
For extra flair, consider adding decorative trim elements, such as rosettes, medallions, or gilt accents. These details can elevate an ordinary space into a refined environment.
The final inspection involves examining the entire trim work for imperfections—gaps, overlaps, uneven paint, or rough spots. Use a good light source to identify flaws and correct them immediately, whether by touch-up, sanding, or re-application. A clean workspace and careful finishing touch-ups will leave your trim looking flawless.
Maintenance and Upgrading Your Finish Trim Over Time
Cleaning and regular upkeep for lasting beauty
Maintaining your finish trim involves routine cleaning to remove dust, dirt, and scuff marks. Dust surfaces regularly with a soft cloth, and clean with a mild soap solution for stubborn spots. Avoid abrasive cleaners that can damage paint or finish coats.
Occasionally, inspect for chips, scratches, or deterioration—prompt repairs with matching paint or filler will prolong the life of your trim.
When and how to repaint or replace finish trim
Over time, even well-maintained trim can require repainting or replacement to keep the space fresh. Repainting is often necessary when paint shows signs of peeling, discoloration, or wear. Sand the old finish lightly, fill any imperfections, prime, and apply new coats for a seamless look.
Complete replacement may be warranted if the trim is damaged, warped, or outdated. Before removal, carefully analyze the existing installation, document measurements, and select new profiles and materials that suit your refreshed decor.
Incorporating modern styles into existing trim for a refreshed look
Updating your finish trim does not always mean wholesale replacement. Simple upgrades—such as painting with a modern color palette, adding decorative mouldings, or changing hardware—can dramatically transform your space. Consider altering proportions or profiles to match contemporary trends, or add subtle upgrades like LED lighting or gilded accents.
Consulting design experts or viewing current styles can provide inspiration for integrating modern aesthetics into your existing trim work effectively.